{*~All in a Row~*}


Well my birthday was yesterday! As soon as my birthday has come and gone, it's a sign that autumn is on the approach. I've been feeling a little under the weather, I thought maybe I was just tired but now I think know I have a stomach bug. Lame! But I spent the morning unpacking a little box of autumn decorations and found my All in a Row table runner!

I forgot how much I loved sewing this! It's so fun & easy, I'm thinking about maybe shrinking the foundation patterns and making a mini All in a Row! That would be cute right?

My version is made with scraps and linen, but imagine how cute it would be in linen and solids? Or hand dyed fabrics? Or all different polka dots and stripes?

I got a few pieces of autumn scrapbook paper this weekend, I have no idea why I love scrapbook paper so much. I buy it and then wish it was fabric ;) I saw this cute pin & thought today I might recover some old cans that we haven't had a chance to recycle.

Today I got my copy of The Farmer's Wife Pony Club from Laurie! She sent Angela & I copies of it, how kind was that? I'm for sure going to start this quilt ASAP, keeping with the scrappy theme. We've been talking about starting a quilt a long for it, I'll let you know what we come up with. The blocks are bigger (8 inches finished), it's a mix of templates, rotary cutting directions and foundation piecing. I wish I could have a won a pony to be completely honest. I'm planning on curling up on the couch with this book, some gatorade and a quilt.

But first..a sneak peek!

AHUH! I'm pretty much dying of excitement! Lindsay is seriously incredible & I can't wait to introduce this quilt and her amazing quilting job to you guys!

Some fun stuff:

Have a good Tuesday!

{*~Quilt Album Software Review *edited!*~*}

I love being organized. I feel like everything in my life runs much smoother when I know where I'm at in all my projects.

One thing I'm absolutely NOT is tech savvy. If you've ever visited The Frosted Pumpkin Stitchery, you'll see super cute icons, logos, cross stitch patterns...tons of computer illustrated goodness. And that's not me. That's my amazingly talented business partner, Ashleigh. I'm lucky if I can edit photos some days.

So when Pat asked me if I'd review Quilt Album software, I was hesitant. I wasn't sure I'd be able to figure it out and I like to keep my blog very ad-free. You won't see a zillion giveaways, sponsored blog posts, etc here. I'm just a girl who loves to sew & stitch and share those things with you! Plus I'd be really embarrassed if I couldn't figure it out.

I forwarded Pat's email to Chop who told me to give it a try and he'd help me. And I am SO hooked. I'm really glad she invited me and he told me to buck up.

Here's my completely unedited review. I did get the software for free and I was invited by Pat. So there is that to keep in mind!

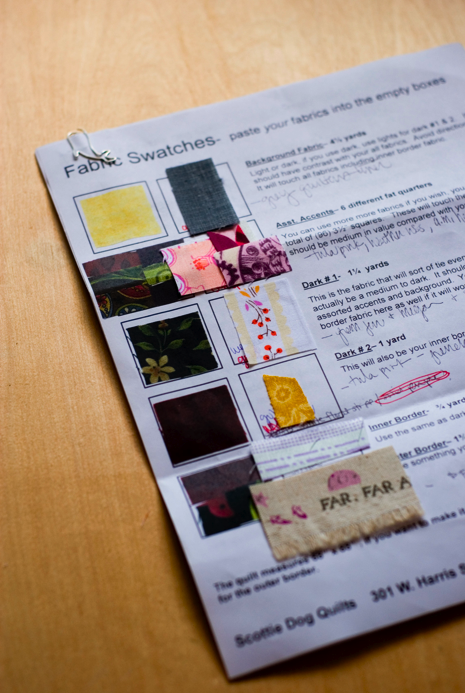
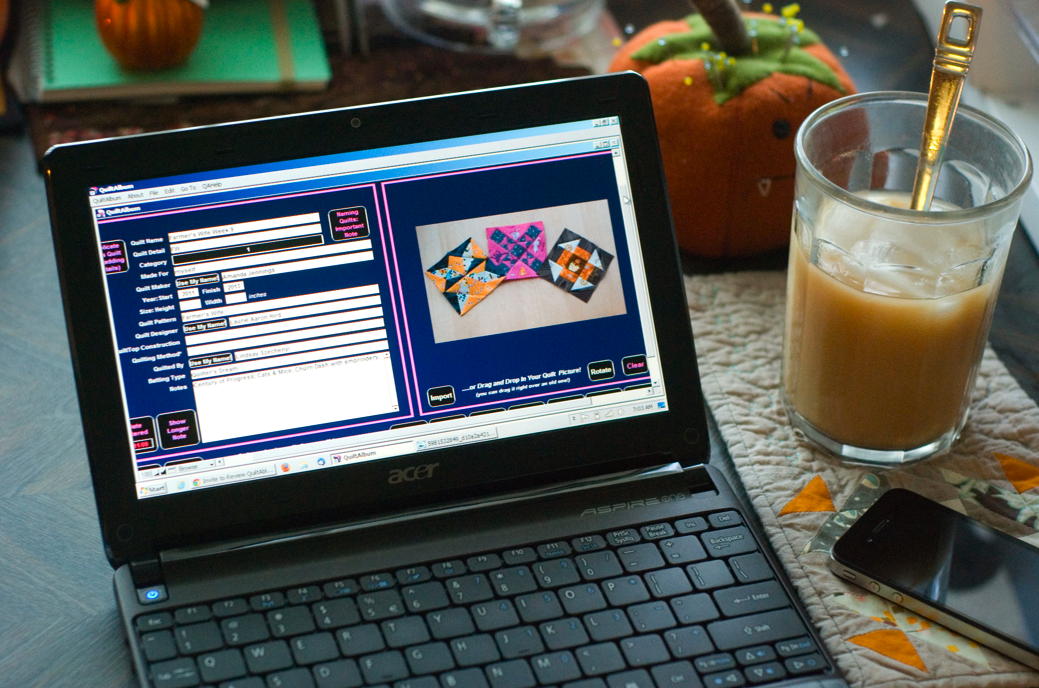
It's available for instant download which is AWESOME. I'm realizing now I hate waiting for stuff in the mail. It's $29.95 which to me, is something I'd pay for. I was kind of using open office, EQ7 & flickr to keep track of projects and it wasn't working out, with QuiltAlbum, everything is in one spot and easy to search. Flickr is $25 for ONE year. So add another $5 as a one time fee for permanent software that will never expire. That is awesome. Flickr can sometimes get cranky or you have to set things to private, then you have albums, sets, collections...too much! At least for me. This is easy, enter in a quilt name and you can put EVERYTHING in one section.

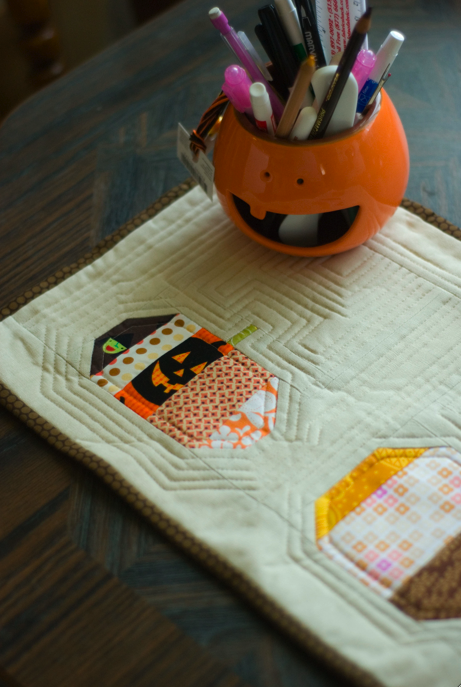
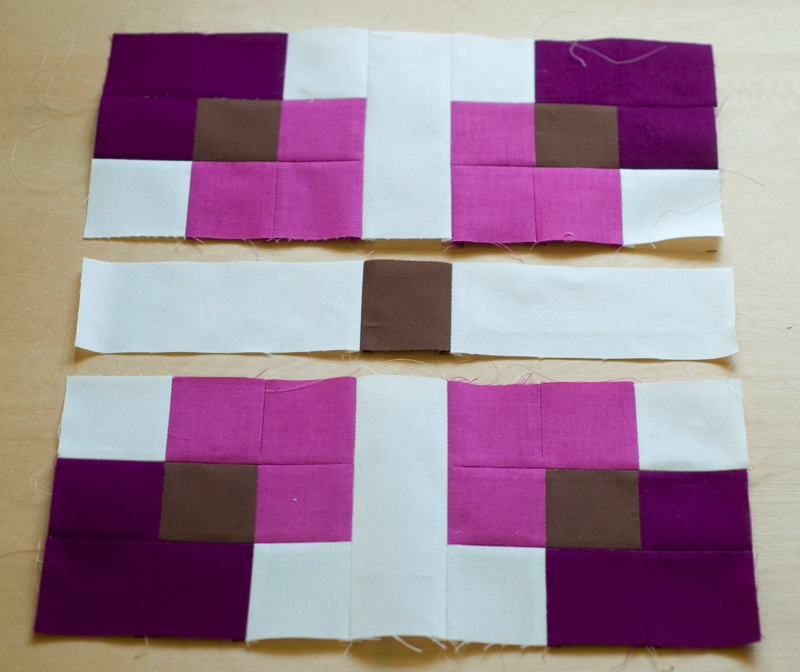
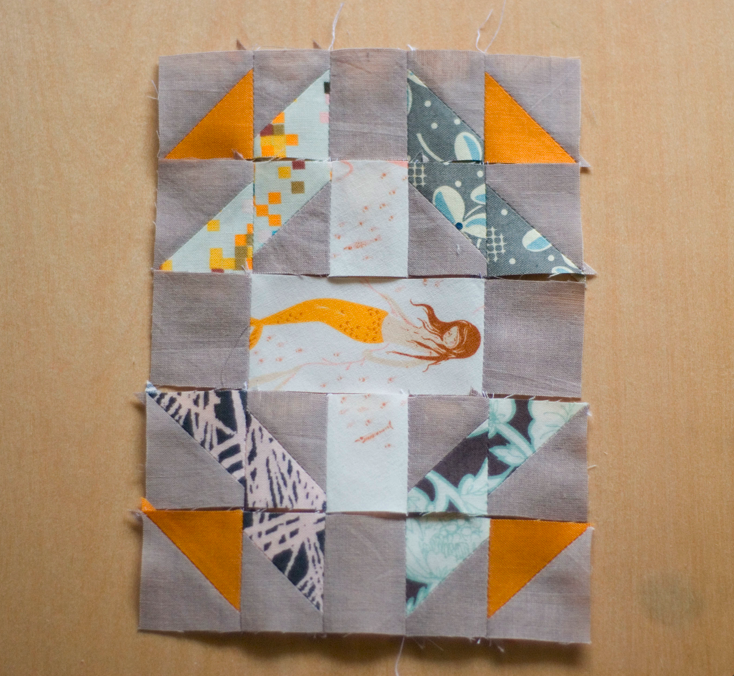
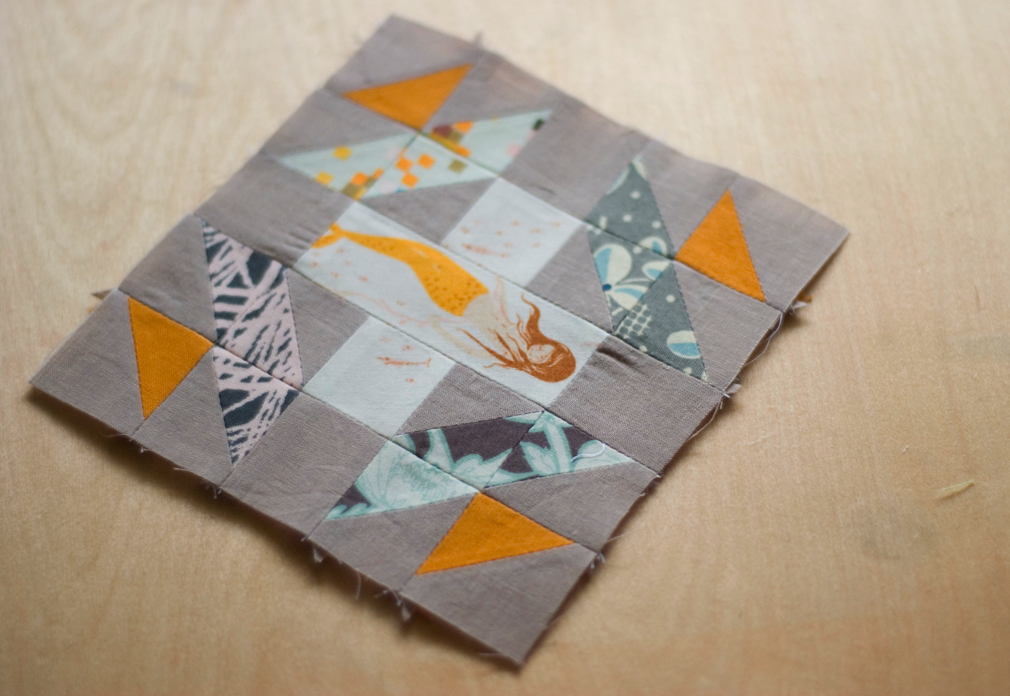
QuiltAlbum is REALLY easy to use. Even for a bad computer user like me. In an hour I entered all my Farmer's Wife blocks, two quilts I designed in EQ, 3 mini quilts and some fabric bundle ideas. That is AWESOME!

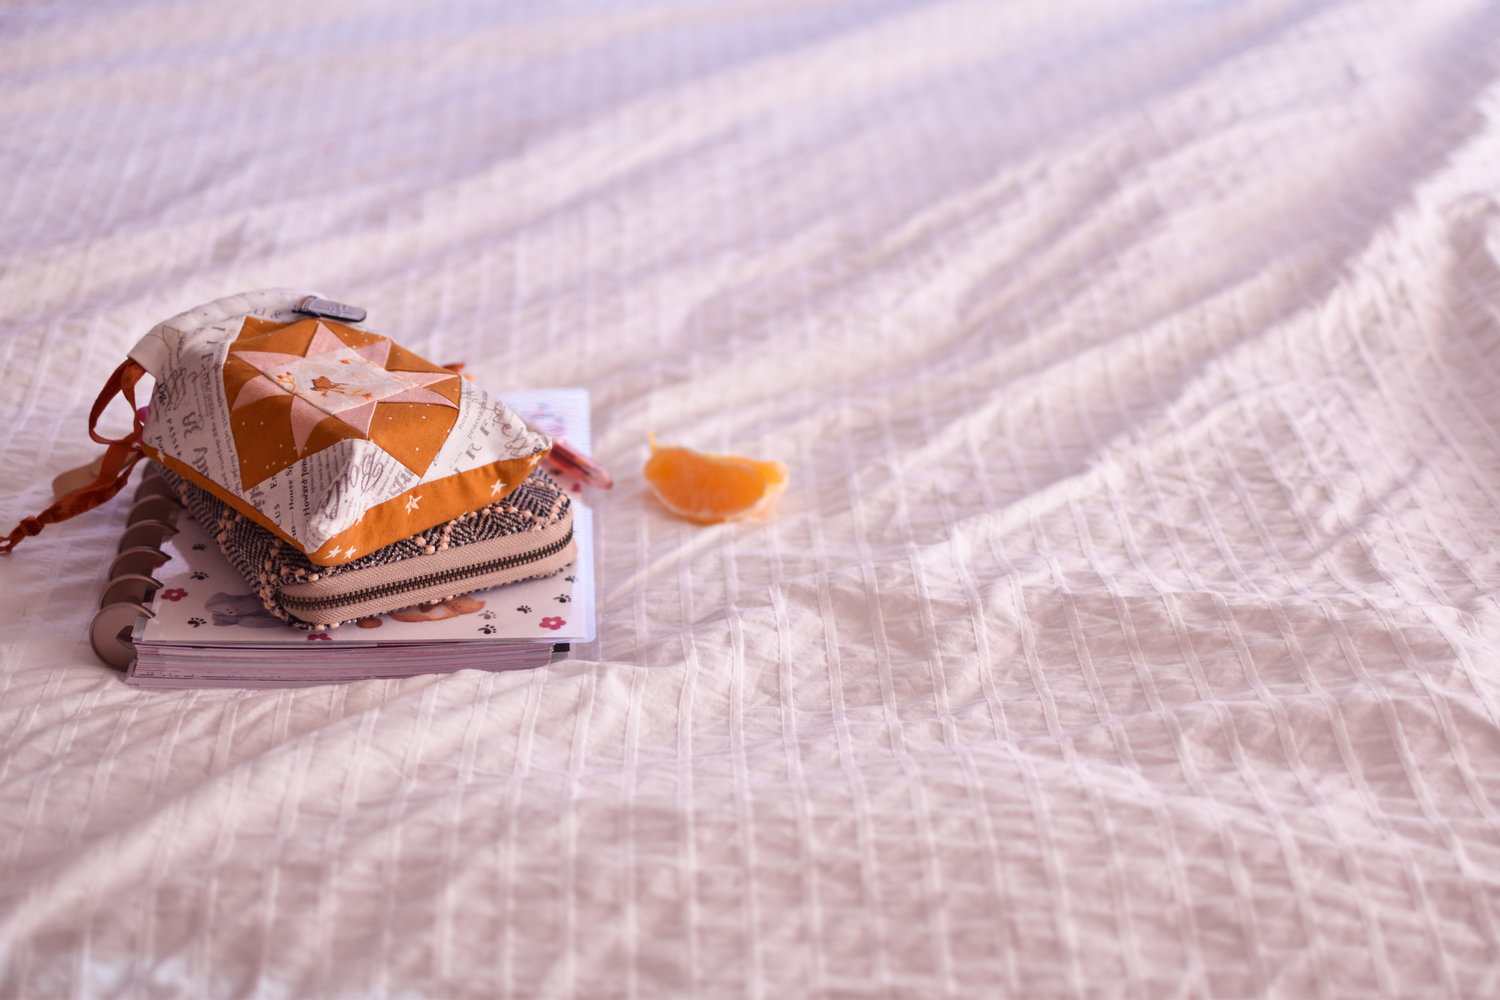
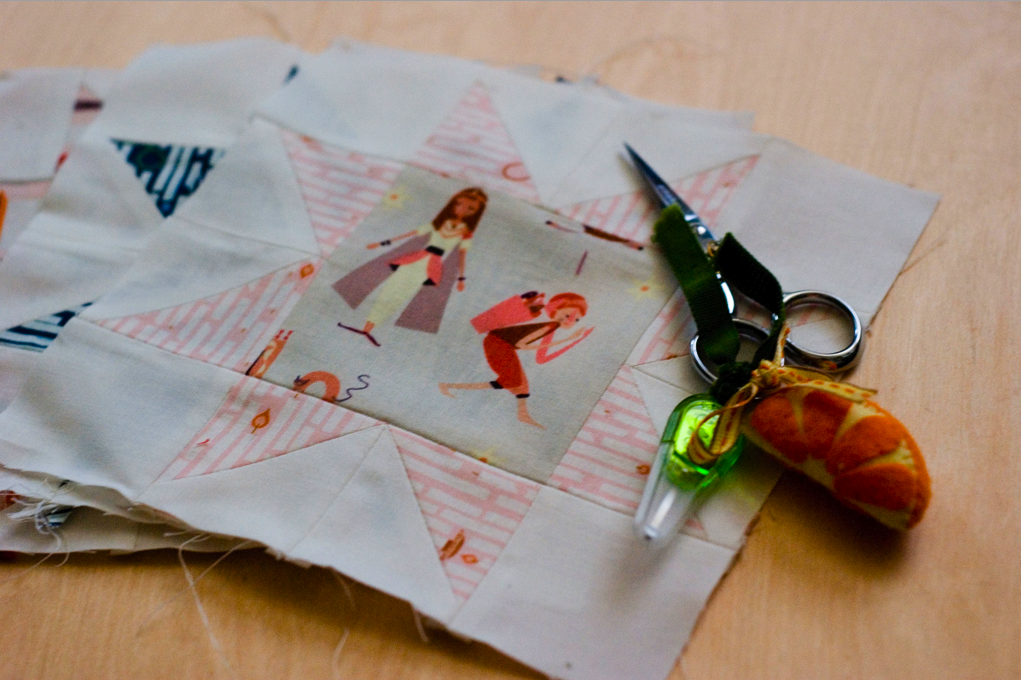
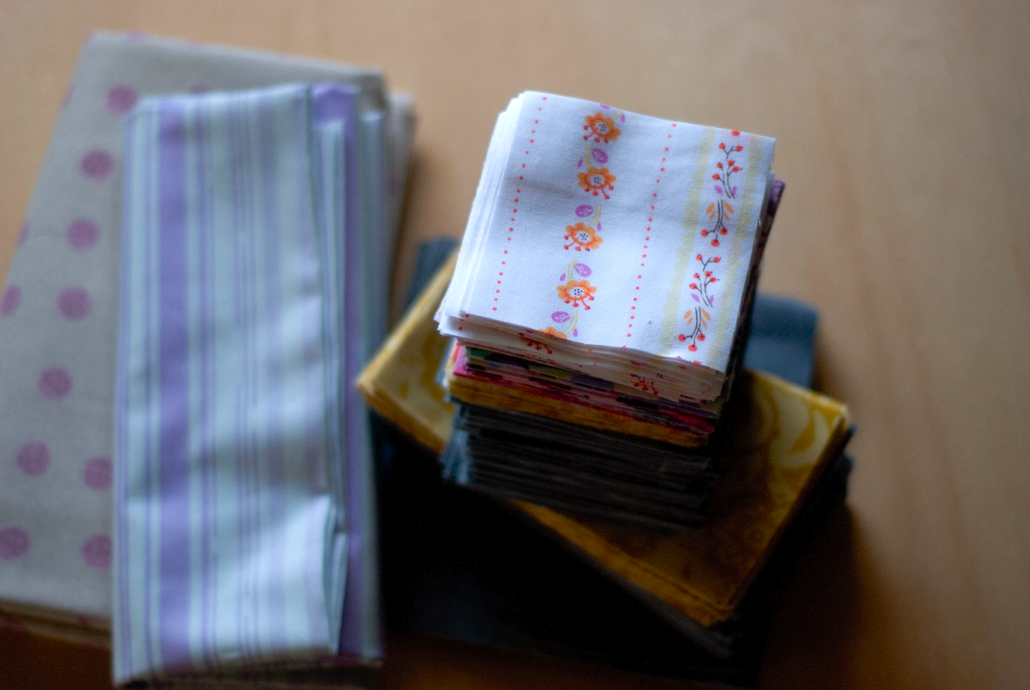
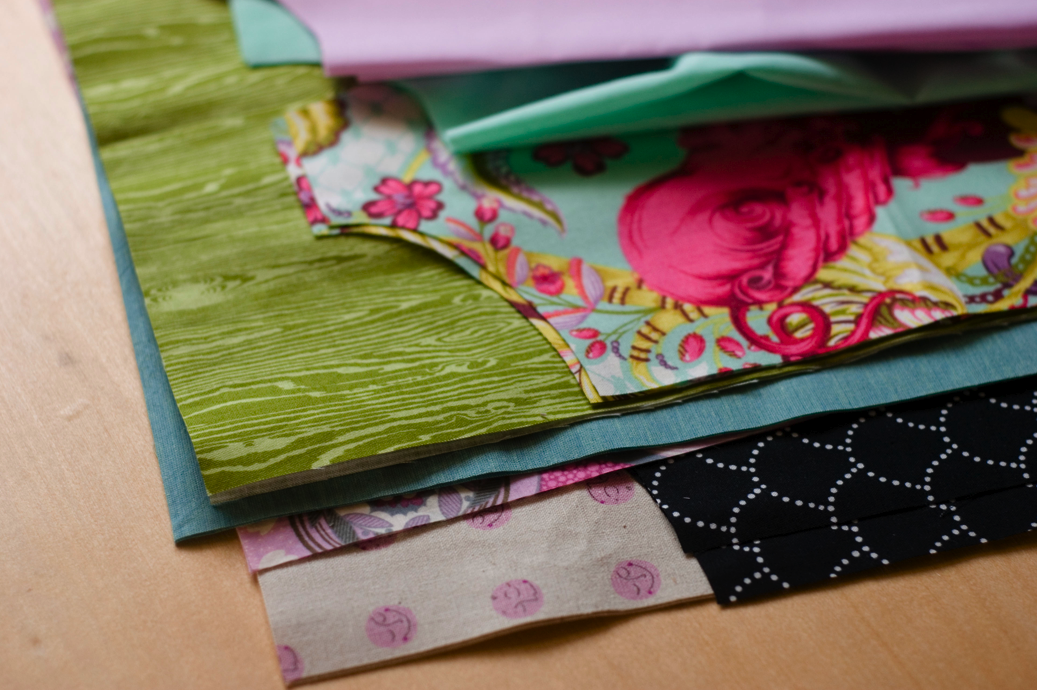
You can drag and drop photos into the album. I'm always making fabric piles of "quilt ideas". I added a few photos of these stacks with quilt block ideas. This way if I'm ever thinking, "hey, I'd like to try something new", I can just look through my album, see bundles of fabric I already put together and LOVE, some blocks ideas and VOILA! Ready to go! This is going to be really handy for days when I'm "cleaning" up my sewing room and finding fat quarters and falling back in love with them. One snapshot on my phone, upload later that night with a note to use this fabric in a new quilt, bada bing, stored in the computers memory, not mine. And it might help with all the piles of fabric everywhere so I don't "forget which colors I liked". ;)

Here are some things you can add to your quilt album:

  • project title
  • the date you started/finished
  • who designed the pattern
  • who quilted the quilt
  • what type of batting you used (I LOVE this one, I like to try different varieties often and this way I can keep try of what quilted & washed up best!)
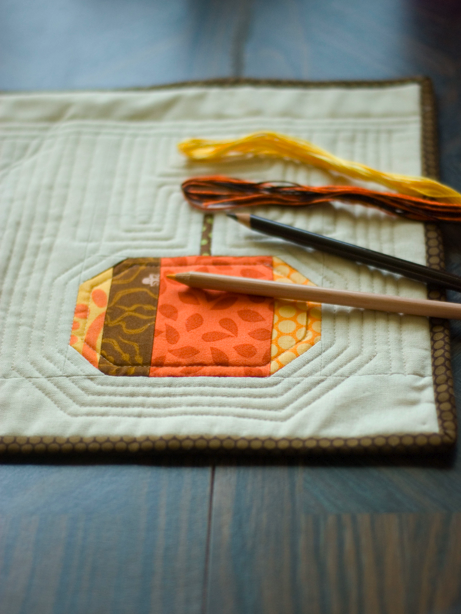
  • quilt construction. So for example, I used Y seams for the first time in a block, I made a note of that.
  • quilting method- I liked this a lot too because I could write, free motion quilted with a different foot or used walking foot with yada yada stitch length.

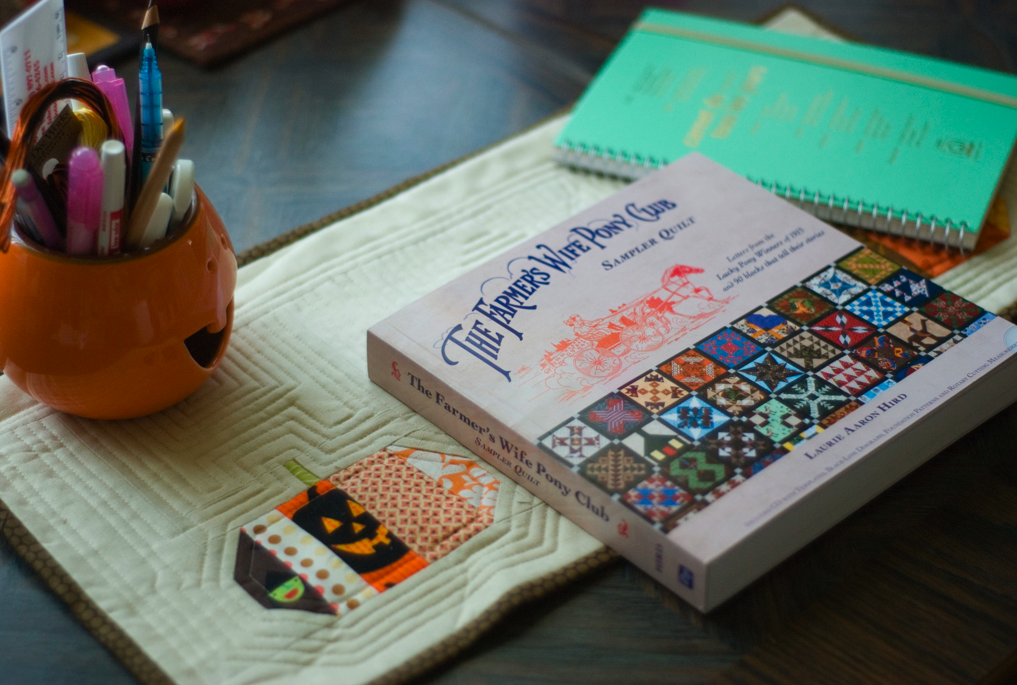
And then there is a large section for notes. Cool right?

I also took a photo of each of my sewing machines, inserted in when I bought them (in the quilt started area), when I had them serviced (in the notes) and if I noticed anything weird lately (also in the notes).

So I'm REALLY enjoying this software. I'm thinking of it as a virtual sewing organizational kit. Lots of space but not so much that I feel overwhelmed and annoyed. I loaded it on our netbook because I like to keep it next to me when I sew because it's small, although it is available for Mac's (yipee!) so I'll probably install it on there as well. I'm not sure if you can have two different computers sync up and have the quilt same info on both laptops. That would be GREAT.

The one thing I didn't like and some of you might think this is silly, it's the font/color scheme. Maybe I'm used to macs where the layout is very clean and crisp. The navy blue, hot pink and purple just seemed dated and stale to me. It doesn't deter me from using it but I'd love it in neutrals. I'm afraid some people might be turned off by the logo/colors and think it was too fuddyduddy and not want to try it out and that's a bummer! Maybe it could be freshened up?!

Either way, I'd buy this software and I like that it replaces flickr, open office and random sheets of scribble paper. It feels GOOD to have everything handy in ONE computer program and then later on when I want to blog/flickr about something, I have all the info in ONE area, I don't have to hunt around to remember who designed something or try to guess the measurements!

If you'd like to win a copy of QuiltAlbum, leave a comment telling me how you currently organize your quilt projects. Don't leave some silly comment like "hi, nice blog post, enter me, k thanks bye". You won't be entered because you gotta answer the question, that's the law around these parts ;) !!! I want to know how YOU organize stuff. I'll announce a winner on Wednesday when I blog my farmers wife block! Sound good? Good!

Thanks for reading my review & see you on Wednesday!

Hi everyone! thanks for your comments! If you get a chance, check out Jim's comment:

"I noticed a lot of mention of flickr. Well, you can post your complete album online on flickr, facebook and any other online photo place that you can post jpg’s. You can also post your complete album onto an iPad or Color Nook. The album page will not only have your quilt picture, but all of the information about your quilt. See an album on flickr at http://www.flickr.com/photos/quiltalbum/sets/72157625012753649/show/"

That's CRAZY AWESOME! I'm excited to give it a try! Thanks Jim!

{*~Peeptastic Patchwork Pouch~*}


Yay!!!

Happy Summer Camp Day!!!!

I'm going to show you how to make a Peeptastic Patchwork Pouch! It's a simple drawstring bag to hold all of your summer treasures. 1001 Peeps has the best narrative quality, so perfect for summer day dreams of far off lands and fussy cutting!

peeptastic pouch pdf <~~~ Click that little link to start downloading the tutorial!

Don't forget to swing by these great folks too!

June 24: Alexia Abegg.

July 1: Lemon Cadet

July 8: The Fat Quarterly!

July 15: Quilt Asylum.

July 22:  MrsMcPorkchop (That’s me!!!)

July 29: Flax and Twine

August 5: Heather alamode

August 12:  Make Something

August 19: Whipstitch

August 26: Happy Zombie

Thanks Lizzy for inviting me!!!!

Have a great Friday!!!

xo


{*~1001 Peeps Summer Camp!~*}


Hey Yo!!!!

Let's get excited! It's time for 1001 Peeps Summer Camp!!! This is so fun!! I'm jazzed to be part of such a talented group of people! eeek!!!

Here is the line up!

June 24: Alexia Abegg.

July 1: Lemon Cadet

July 8: The Fat Quarterly!

July 15: Quilt Asylum.

July 22:  MrsMcPorkchop (That's me!!!)

July 29: Flax and Twine

August 5: Heather alamode

August 12:  Make Something

August 19: Whipstitch

August 26: Happy Zombie


I've been sewing with some 1001 Peeps lately...I'm working on a long term quilt for our bed, made up of 7 inch saw tooth stars. I love how fussy cut-able, narrative and just plain FUN her fabrics are going to be in this quilt! I'm dying to make a skirt from the navy blue candlesticks too. And sleep pants from the coral colored ones! Or maybe pearl bracelets? The line is seriously chock full of inspiration!


Fun stuff right???

Be sure to visit all the blogs, say hi to Lizzy (wish her a Happy Birthday!) and come back to check out my project! Oh! And grab a cuuuute button!

200 pixels

150 pixels


I'm spending the day wrapping up two new patterns, finishing up star-y log cabin e-course and working in the garden! I'll be back on Monday to show you a cute wedding gift I'm working on ;)

Have a great weekend pals! And Happy Birthday L.House!

xo

{*~What I've been up too!~*}


First I made a block for Patchwork Squared's Modern Solid's Quilt-a-long! This post talks a little bit about my creative process and shows you how to create the Tonganoxie 9 Patch! Thanks for having me Ryan & Charlie!

Then I started cutting....and cutting...and cutting...


and more cutting!

Because this weekend is Redwood Sewing Center's Mystery Retreat! When I was tweeting about this yesterday a lot of people were curious so here goes!

You get a packet from them when you sign up. In the packet is cutting instructions and a little chart!


So the fabrics on the left are the ones they are using in their quilt, the right is where you paste your picks. They tell you where the color is featured within the quilt and you pick your fabrics around that. You DON'T know what the finished quilt looks like! It's a MYSTERY! Through out the weekend they give you instructions how to sew stuff together.

I picked some favorites: quilters linen, far far away 2, west hill (I ran short & thankfully Jeni & Megan saved my butt!) some Parisville (Thomas very kindly sent me some scraps to play with!), I also raided my scrap bin and if it was pink or purple, I cut it! I cut over 300 pieces. That's crazy right?! I'm so so so excited! I picked FFA2 moons for one border and Anna Maria Horner Innocent Crush lilac-y stripe for the other. It's going to be about 88x88, I'm dying to quilt it myself and give our wedding quilt a break. I have 9 quilts we rotate on our bed and I've been anxious to give them a rest & make a new one. Did you see Sarah is doing a naked bed challenge? That's really fun!

Here is something I love that I don't think I've mentioned before. It's an ArtBin that they sell at JoAnns...probably Michaels too. I think they are used for scrapbooking BUT they are perfect sized for quilt blocks! I keep all my 12.5 inch blocks in here, they lay flat & organized. I have two, one for traveling with fabric, one for storing blocks. They are almost always on sale, they had them yesterday 50% off at JoAnns. Plus, aqua glitter!!! How can you say no to aqua glitter?!

I started my weekender bag! The outside is completely done, I'm not done yet with the lining. It wasn't hard so much as a lot of little steps. I had great company, Katherine was making one too. So we'd tweet back & forth about it. I'm not sure yet how to do the lining but I'm hoping I'll figure it out.

This is a little project I can't talk about because it's a b-day gift for someone who sometimes reads my blog (my mom! ha!).

I've been working on some videos, some orders, writing two new patterns, reading a LOT before bed, but one thing I haven't been doing is hand quilting. I'm not sure what's going on but my elbow gets a funny pain in it...it happens when I knit & cross stitch too. So I'm taking a little break from it which stinks because I have two quilts to be bound & a mini to finish quilting. And the weekender has you hand stitch the lining in! Eeep!!!

Tomorrow I'm getting my hair cut! I have really straight, like doesn't hold a bobby pin straight (I need to tell you that I typed that at first as a bobbin pin...sew much?;)) so I'm hoping it'll be cute and not helmet like. I'm trying to grow out my bangs. I want something very light & fun for the summer, I tend to be very serious & self conscious so this will be fun. Right now my hair is about 4 inches past my shoulders but you'd never know because it's always in a pony tail!

ok! I'm off to finish up some stuff! Have a great weekend!!!

{*~Mug Rug Madness Tutorial~*}

Hi Everyone!

Mug Rug Madness has been SO fun to see all week! Thank you so much Erin for inviting me! The previously posted tutorials are all SO cute and very inspiring! And did you see how fun the flickr pool is? So great!!!

I started making mug rugs a few Christmas's ago, my friend Carolyn who I sewed with in Eureka one day came to our sewing group and was making these cute little things out of her scraps. I was so curious and she said "oh! they are just mug rugs"! But being inspired by all kinds of Japanese zakka sewing, I became obsessed with the idea of these little small patchwork bits that you can use to brighten up your space. I made them for gifts, for myself, for Chop. I made them to match mugs and when I was dying to do some scrap busting.

Today I'm going to give you a brief overview how to make a mug rug using a traditional quilt block called Christmas Star II. I've noticed a lot of contemporary quilters stay away from structured piecework because they are worried their pieces won't match up or they think they are "boring". That's a total bummer because there is SO much inspiration and potential in traditional blocks!

The possibilities are endless for Christmas Star II. I made all my inner brackets (HSTs!) different fabrics, but you can most certainly do them all the same. Imagine this block in solids? Or Liberty? It would be gorgeous. Quilting is all about taking a block & some fabric & making it YOURS.

This will make a 5 inch block that I've added a 5 1/2 inch piece of fabric too after the block was completed.

You will need a total of 16 HSTs in the combination of fabrics you like.  They will be cut at 1 7/8'' and they finish at 1 inches. It's up to you to make your HSTs in whatever method you prefer. I like Thangles personally. I used a variety of fabrics: FreeSpirit Designer Solids, Habitat by Jay McCarroll, Hope Valley by Denyse Schmidt and Lush by Erin Michaels. My background fabric is a Kaffe Fassett shot cotton, I have no idea the color name but if anyone does, please chime in! I'd love more!

You will need 4 squares made from your background fabric. They will be cut at 1 1/2 inches.

For the cross in the middle of the block you'll need two squares, 1 1/2 inches each. The rectangle is the perfect size to fussy cut things, 1 1/2 x 3 1/2 inches!

After you've cut out all your pieces, lay them down in the order in which they'll be sewn. Starting from the left sew each block to each other along the top row. Then continue making all 5 horizontal rows.

Once your horizontal rows are assembled, sew your block together! At this point I use a LOT of pins to make sure my pieces line up as best as possible.

Yay!!! You've completed your block! At this point you can starch your fabric to make it flatter and more crisp, just don't starch it too much or you'll have a little dent in your block like mine! Next, sew a 5 1/2 x 5 inch rectangle onto your block. This is the empty space for your quilting or applique!

After I made my quilt sandwich (I backed my mug rug with Little Folks Voile by Anna Maria Horner), I free motion quilted some waves and then hand quilted some waves with 2 strands of Cosmo embroidery floss. I used three different colors, a dark gray, a coral & an aqua. The free motion quilted waves are done with white thread.

Yay!!!! Mug rug!!! I cut my binding strips to 2 inches, I prefer narrow binding for pretty much all my projects as a personal preference. I then hand sew it onto the back.


Use & love your small bit of cute patchwork! You don't have to add the extra space for quilting either, it would be super fun to have a bunch of these 5 inch squares as coasters!

Don't forget to enter the official giveaway post! There are some great mug rugs being given away...mine is coming with me to The Sewing Summit where I'll be talking more about inspiration & mini quilts!

Also, one post back I'm giving away an awesome prize...K. Miller photo actions!!! eee!!! Hop on over & enter to win those as well!

Curious about the pastries? They are homemade poptarts!


Thanks again for stopping by! And to Erin for all her hard work on putting all this together. And the other gals who created such great tutorials!!!!