Keeping Organized & Inspired for Once Upon a Time Sampler!


Tomorrow between 12:05 am and 12:30 am Once Upon a Time subscribers will receive their first pdfs!!!! I can't believe it's already starting!
Once Upon a Time is a year long stitch a long where the pattern is a mystery but it's fairy tale themed. Each month on the 1st you'll receive a piece of the puzzle and at the end of the year, you'll have a finished heirloom quality project! Sounds fun right? It totally is!
The best parts are:
- You can sign up at ANY time. We know mystery patterns are hard to commit too so we keep sign ups open year round, you can watch the project as it progresses!
- You can go at your own pace. With PDF patterns, there is no waiting. Once you download it, you can begin instantly. OR you can download it and work on it whenever you have time!
- It's kawaii. Kawaii is Japanese for CUTE! And we designed it based on my collection of Japanese fabrics, it's inspired by so much in my personal quilting stash.
The project is BIG. It measures 11.5x17.75 inches and it's 173x246 stitches. Yup! That's a lot of stitching!
So how do you stay inspired and excited about this project for the next year? I've got a few helpful tips and tricks!
- First & foremost, download your pattern as soon as it arrives. And be sure to read the email! We share tidbits about the fairy tale and what specifically inspired us.
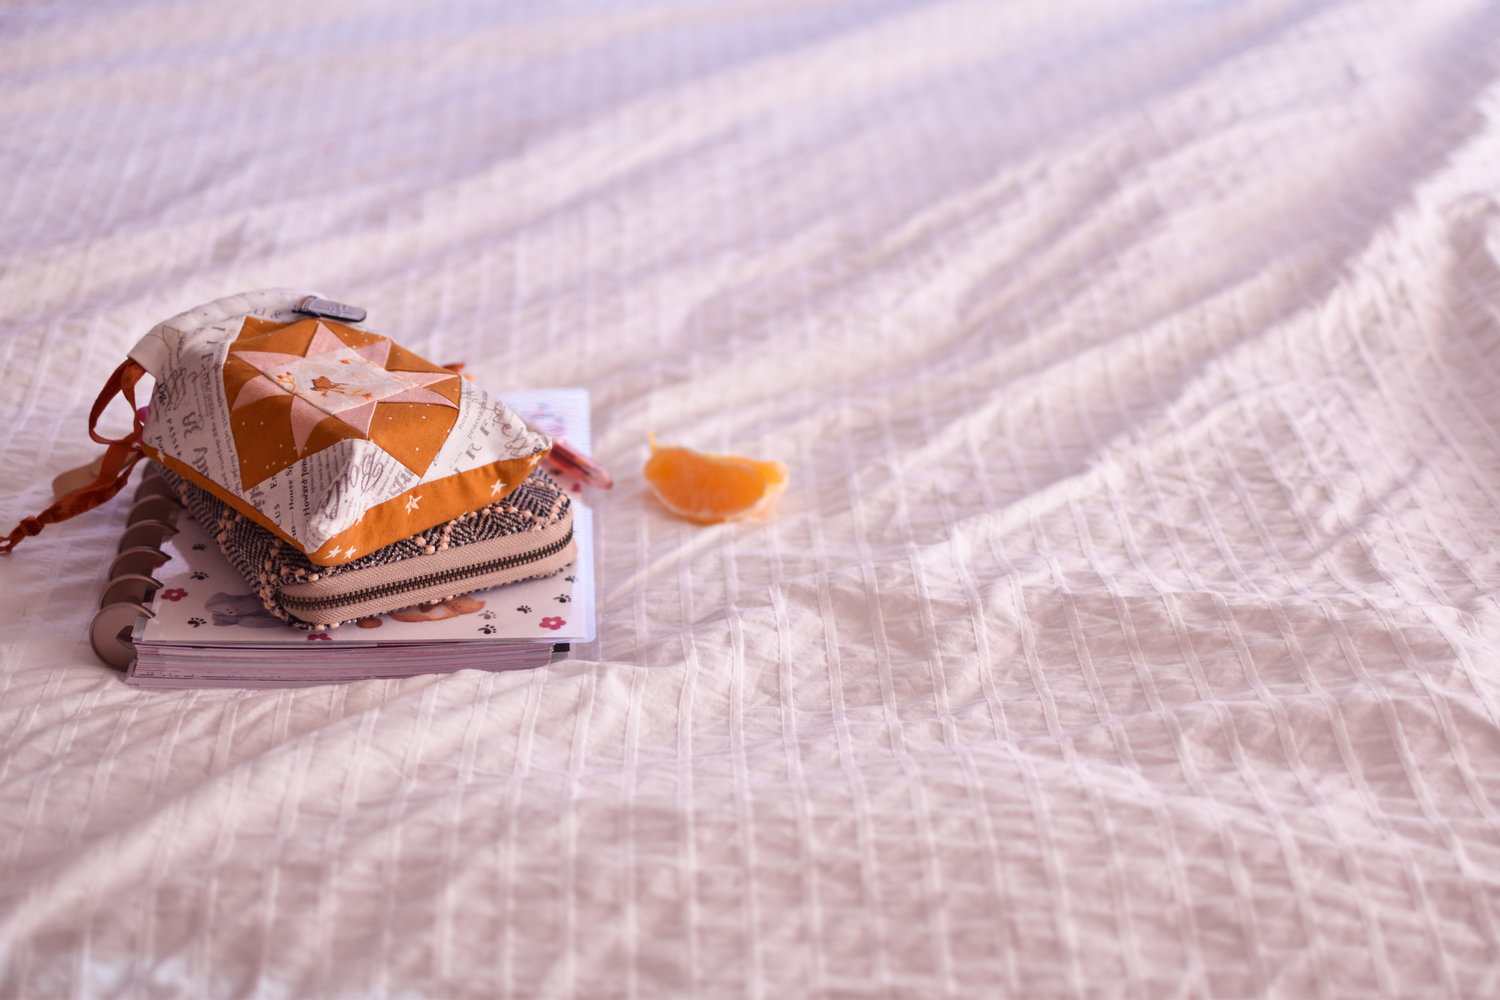
- Keep your supplies in one handy spot!
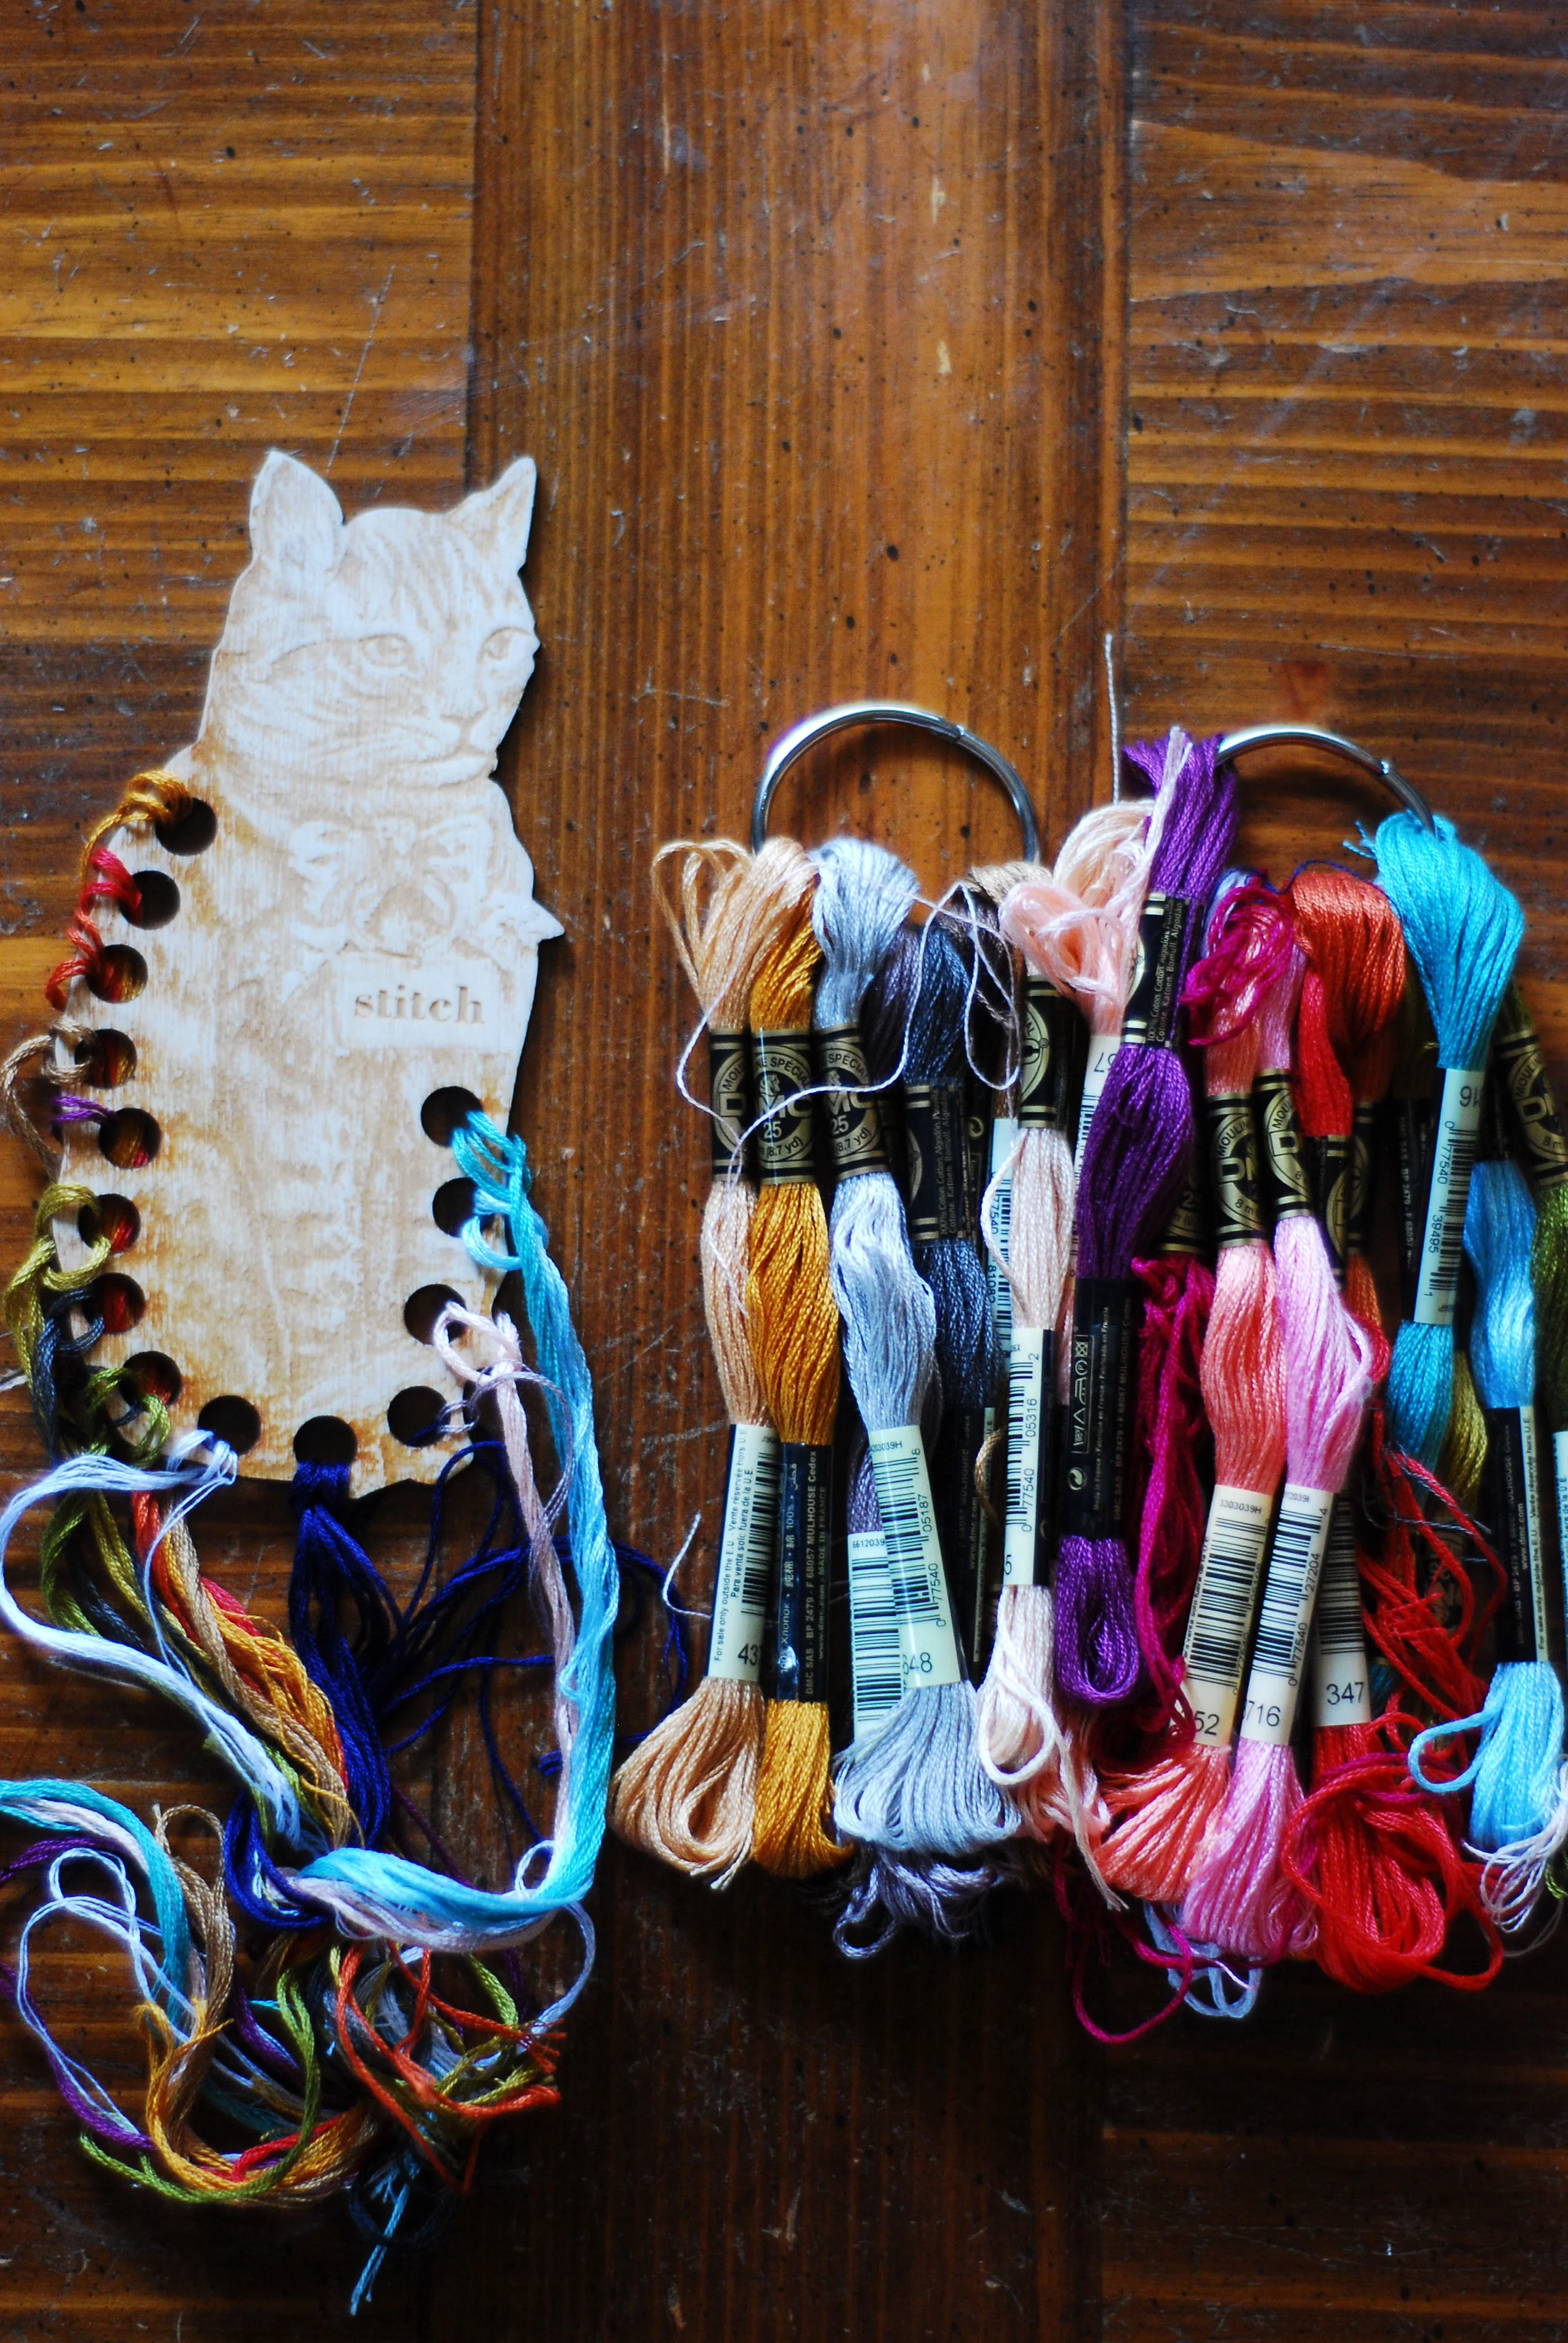
Keeping your supplies organized for this project is super important! We hired two cross stitchers to stitch the entire chart to test it and at the end of the year you'll have very little left of certain colors.
- Keep your threads together. Find a method that works for YOU! I find keeping the skeins on O Rings works for me. You can find these rings at Michaels, JoAnns, WalMart, Target, office supply stores, etc. They are simply metal rings that open and close.
- Save your thread! This is a huge one! Don'y ply down your floss and throw the other 4 threads away. Keep them with you! I use a really cute cat thread minder and it helps! I always know exactly how much of a color I have.
- Most of us can't dedicate an entire room to crafting so find an a way to keep all your Once Upon a Time supplies in one place. I use a metal tin I bought at JoAnn's two years ago. I keep all my floss for ONE project in it along with the notions. If you keep your supplies always together, you don't have to worry about losing things during the year. Some people sew project bags or buy them on etsy and even gallon ziplock bags work! There is nothing worse than getting ready to sit down and stitch and realizing your scissors and needles have wandered off. Stitching time is precious.
On that note:
- Stitch at your own pace. Maybe you can only stitch on your lunch breaks or while your baby naps. That is A-OK! This project isn't meant to be finished in an half hour. It's meant to be worked on all year long. It's designed to constantly inspire you. You'll find some months you may get the block done the first week the pdf comes out, maybe you'll fall behind a few months, but honestly- as long as you are having fun and enjoying the process, don't stress over it. At the same time, there are also people who I know are SO EXCITED that they've sent alarms so they can start as soon as the pdf arrives! And that is a-ok too! Don't compare your stitching journey to someone else's. We have people who have been stitching for years and we also have people who this is their first project! Cross stitch = happy time!
If you are a technology user utilize apps!
- When the email arrives you'll see a button of Sugarloaf saying "Click here to download your pattern". At this point you'll be routed to a download, be sure to SAVE it! Depending on your internet connection, it may be slow to show up. Don't worry, it will show up, if you hit refresh too many times you'll be locked out. Once you save it, download the Adobe Reader app- it's free and it allows you to mark directly on your pattern! You'll hover over the top right hand side of the PDF and you'll see an arrow with a box. If you click this, you'll see a box pop up that says "open with" and you can pick Adobe Reader! I like this app because you can write on the pdfs! Meaning, if you need to step away from your project, you can mark where you left off.
If you aren't a technology user- don't worry! Ashleigh has specifically designed the patterns so they can be printed in very high quality. You'll find you can tape the two charts together to make counting super easy. If you are using paper copies, I like using highlighter tape to keep track of where I am.
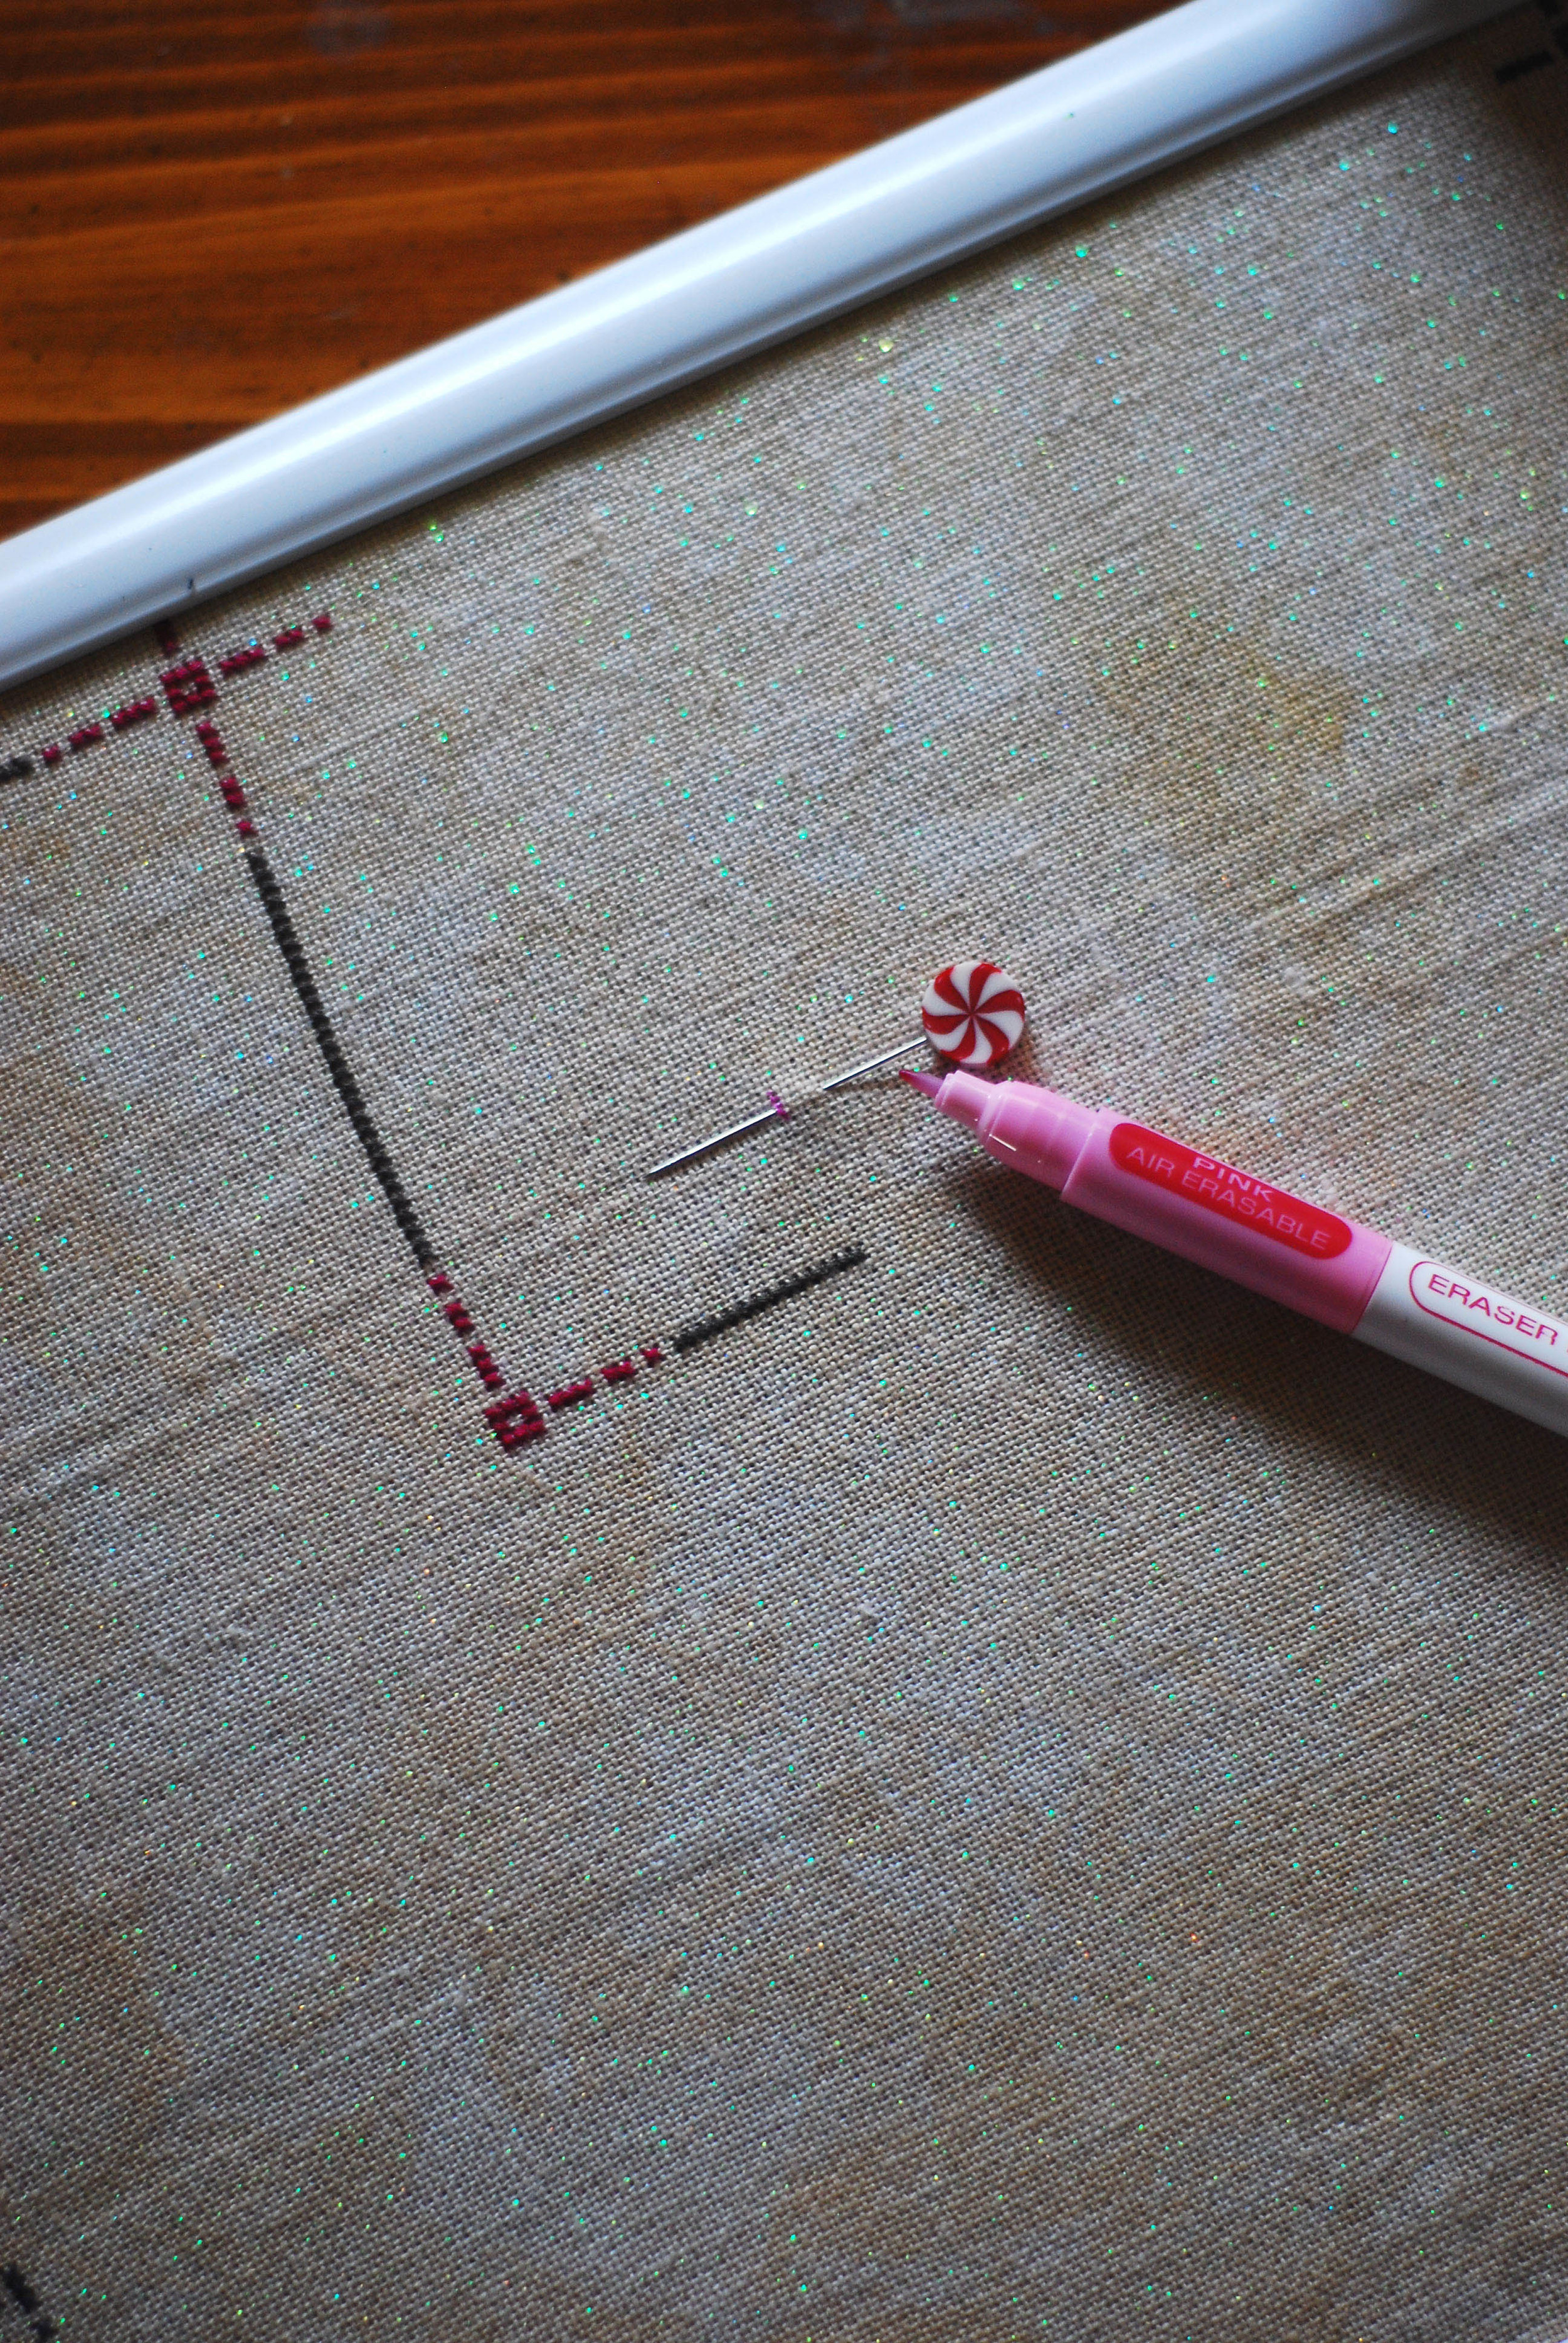
Be sure to read the stitch guide. You'll want to start in the center of your fabric and work your way outwards- especially if you aren't using the recommended fabric. Simply fold the fabric in half horizontally and again vertically and mark where the lines meet. You'll line this spot up with the center of the chart. I mark mine twice, once with a marking pin & I draw on the fabric using a Clover Air Eraseable Chacopen. I have marked quilts for many, many years with this pen and I've never had it stain or not come off. This is a personal preference, some people like to thread baste, some like to use pencil, some measure borders. Ashleigh found it easiest to stitch the monthly dividers first, then stitch the border. I found it easiest to stitch my monthly divider over to the border and stitch the entire border, I haven't done the monthly dividers yet. It's totally up to you! I know quite a few people will want to stitch January's block ASAP and there are others who will want to do the frame first!
Here are some notions I personally use:
- 11x17 QSnap. Size depends on how often you want to move your fabric around. I'm using an 11x17 but it is heavy and cumbersome. You can find QSnaps at The Cottage Needle & The Workroom.
- Clover Wonder Clips. I use them to tuck the linen away while I'm stitching.
- Needleminder. I collect them- they are just magnets that sit on your work so you don't lose your needle when stitching!
- Needle Threader!
- Thread Heaven- I don't use it as much as I used too but it's helpful in preventing snags.
- Bohin needles- I prefer a size 28 tapestry but if you've never stitched before, go with a 26. 28's are smaller and can slip around a little too much if you are just starting out. A tapestry needle has a rounder blunt tip rather than an embroidery or hand sewing needle- this is to avoid snagging and damaging your fabric as you stitch. I use a smaller size because I find it easier when stitching on opalescent fabric.
I like this website for technique tips, it makes the most sense to me personally. When stitching with a solid color, I like to do the loop start method. If you are using Weeks Dye Works for the border, don't use this method to start, use the running under method we explain in the stitch guide. The loop method will break up the variegated colors and you don't get as dramatic of a result.
Tension takes some getting used too, it's something I still need to practice on a regular basis. You'll want to make nice, neat x's without pulling the thread too tight and distorting the fabric or too loose. Don't worry if you don't get it right away, you have all year to work on it!
I'll post my Once Upon a Time project, some changes I made and I'll also post some of Ashleigh's project tomorrow! :):)